Pvc Window Installation Application
Step-by-step information and tips on installing PVC windows! Installation work carried out professionally will ensure safe use of your PVC windows for many years. Please follow the steps below for details.
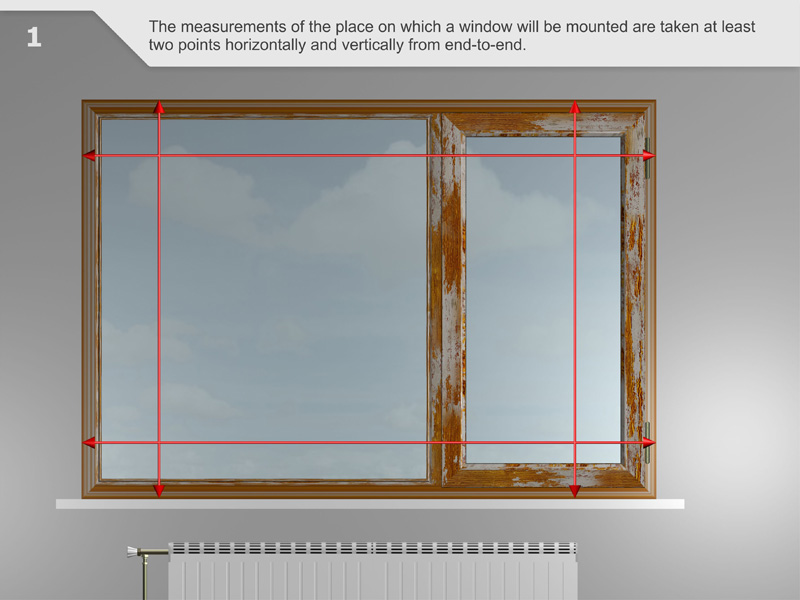
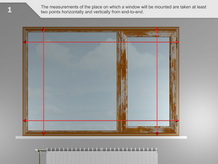 End-to-end measurements of the opening where the window will be installed are taken from at least two points horizontally and vertically.
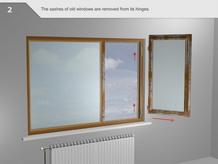 The sashes of the old window are removed from the hinges.
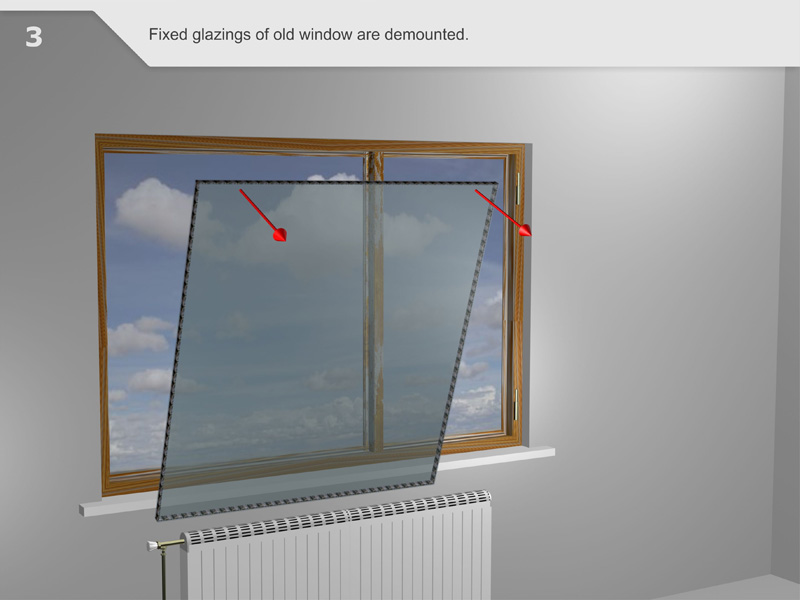
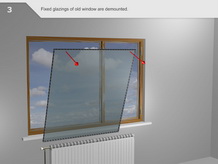 Fixed glazing of the old windows is removed.
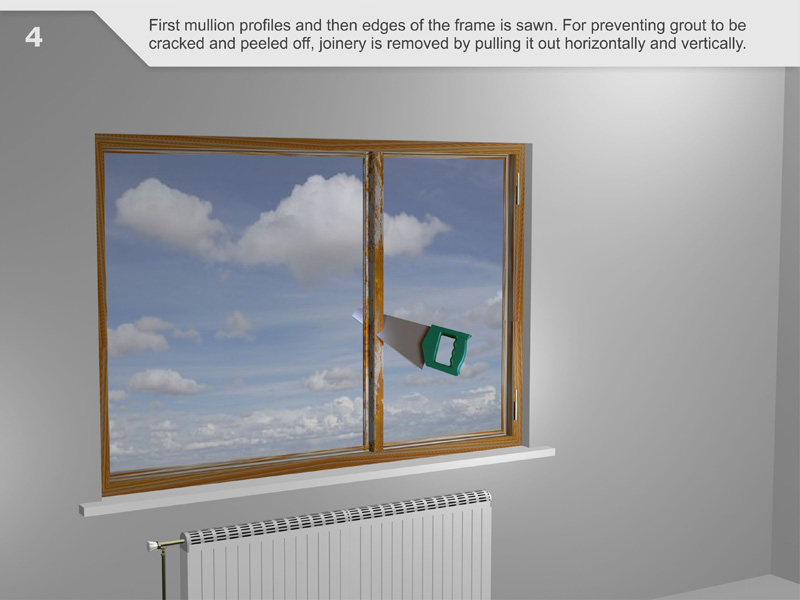
 First the mullion profiles and then the edges of the frame are sawn off. The joinery is removed by pulling out vertically and horizontally in order to prevent breaking and flaking the plaster work.
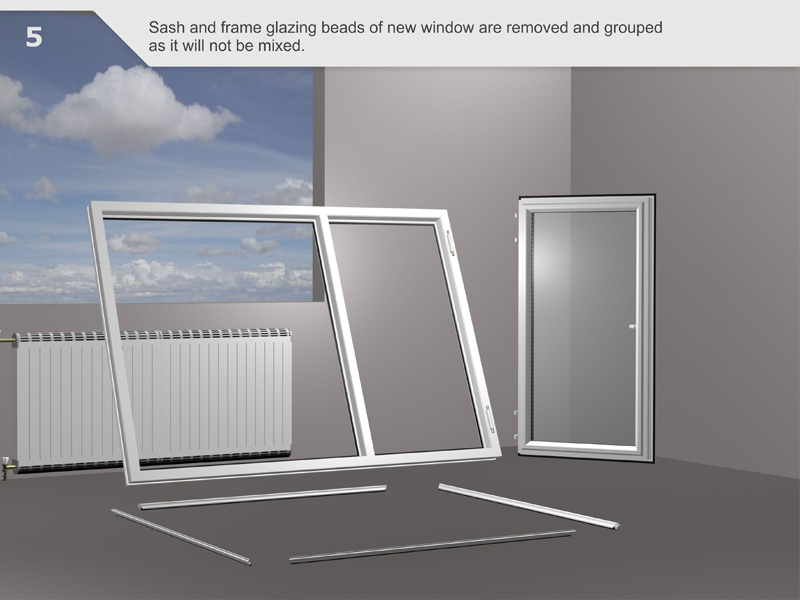
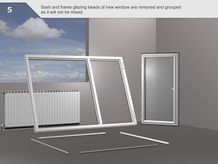 The sash and frame glazing beads of the new window are taken out and grouped so that they are mixed up.
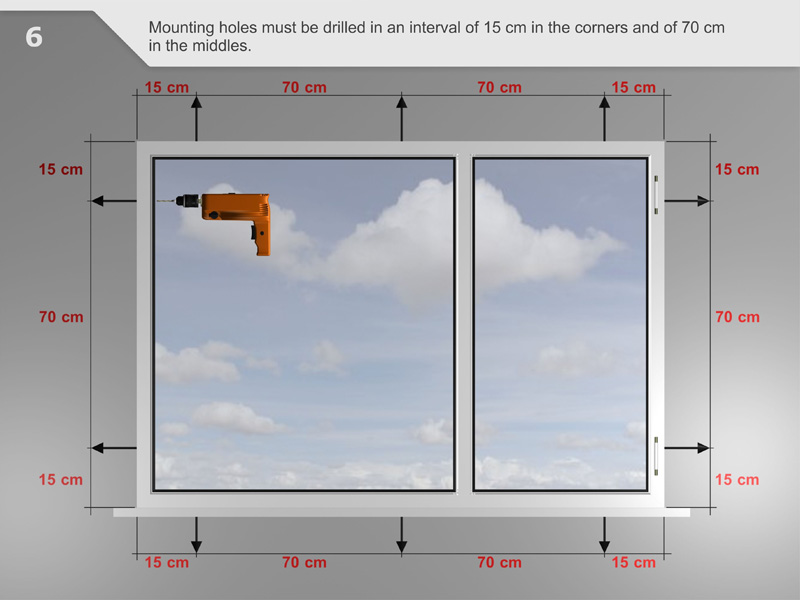
 Mounting holes are drilled at intervals of 15 cm in the corners and 70 cm in the middle.
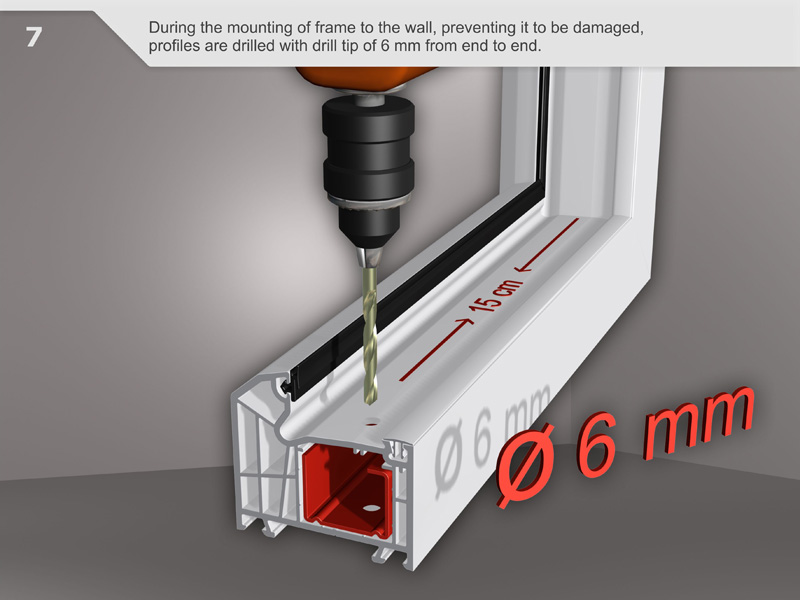
 In order to prevent any damage during the installation of the frame on the wall, the profiles are drilled with a 6 mm drill bit from end to end.
 The frame is lifted onto the window opening and temporarily fixed by leveling horizontally, vertically, internally and externally.
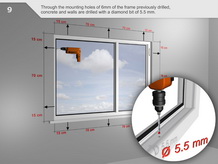 Concrete and walls are drilled using a 5.5 mm diamond bit through the pre-drilled 6 mm mounting holes of the frame.
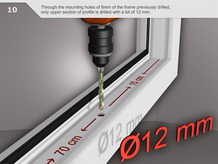 Only the upper section of the profile is drilled using a 12 mm bit through the pre-drilled 6 mm mounting holes of the frame.
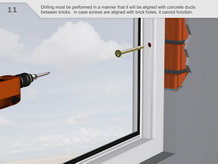 Drilled holes shall overlap with the concrete joints between the bricks. Screws will not function if they overlap with the hollow sections of bricks.
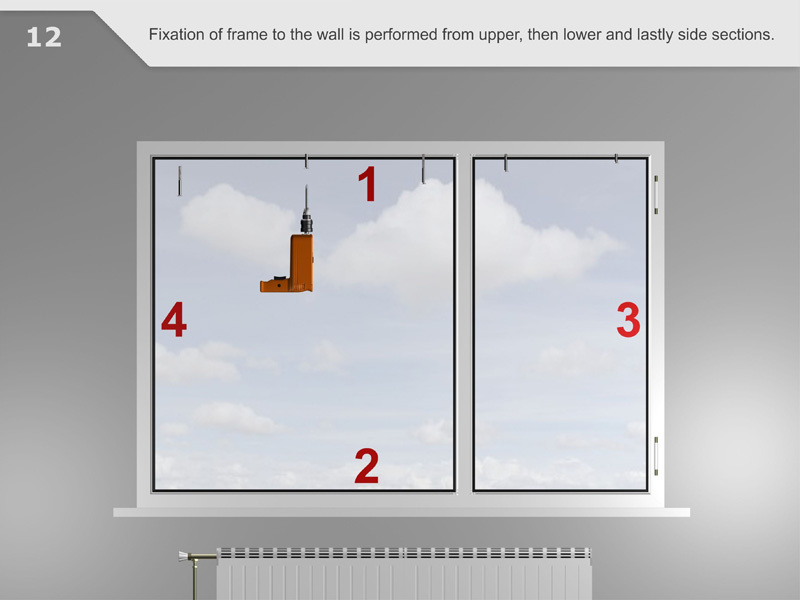
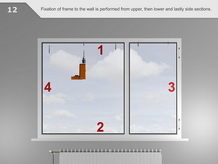 The frame is fixed to the wall from the top, bottom and sides respectively.
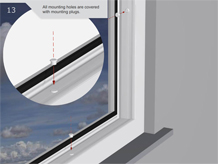 All mounting holes are covered with mounting plugs.
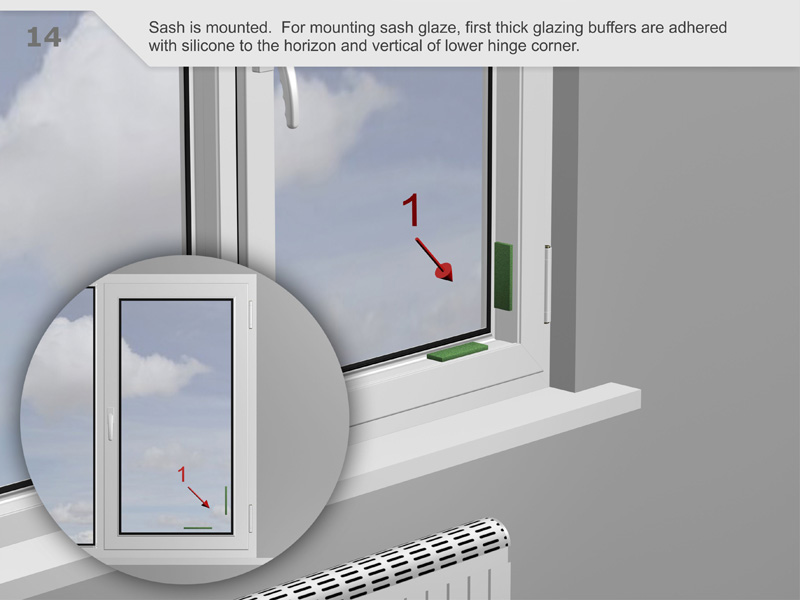
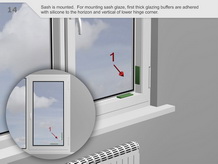 The sash is installed. Firstly, thick glazing wedges are glued horizontally and vertically to the lower hinge corner with silicone to install the sash glazing.
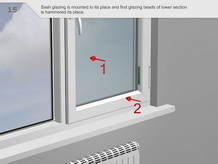 The sash glazing is positioned in place and firstly the glazing bead of the lower section is installed in place.
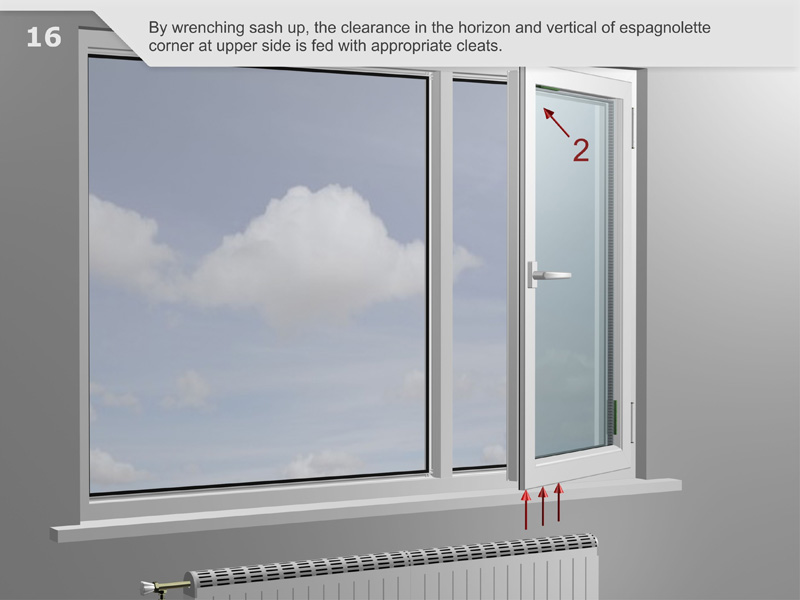
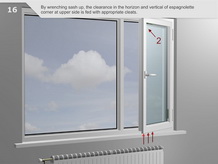 The sash is pushed up and the gap forming horizontally and vertically at the espagnolette corner at the upper side is filled with suitable cleats.
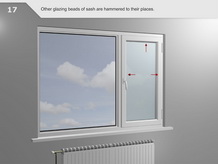 The other glazing beads of the sash are hammered to their positions.
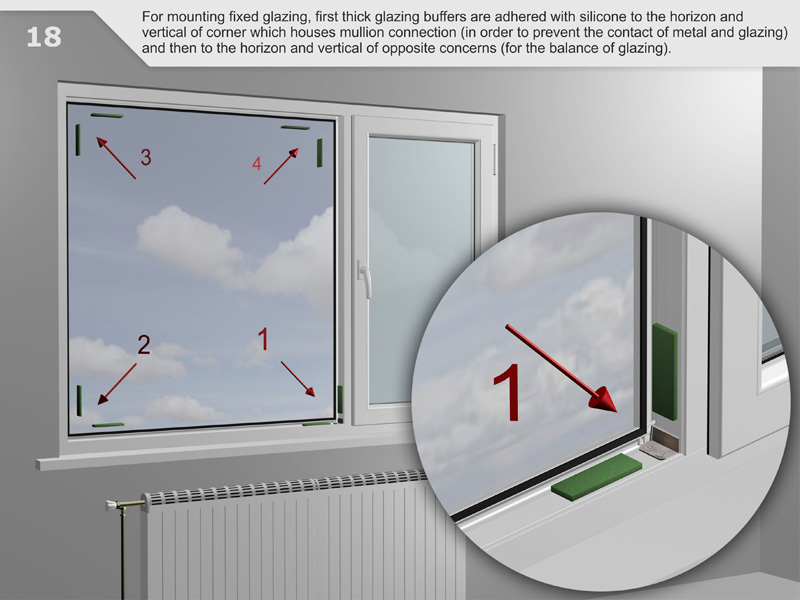
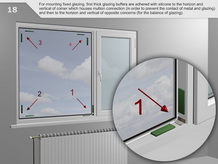 For installing the fixed glazing, firstly, thick glazing cleats are glued using silicone horizontally and vertically to the corner that contains the mullion connection cleat (to prevent contact between metal and glass) and then horizontally and vertically to the opposite corners (to attain a balanced glazing).
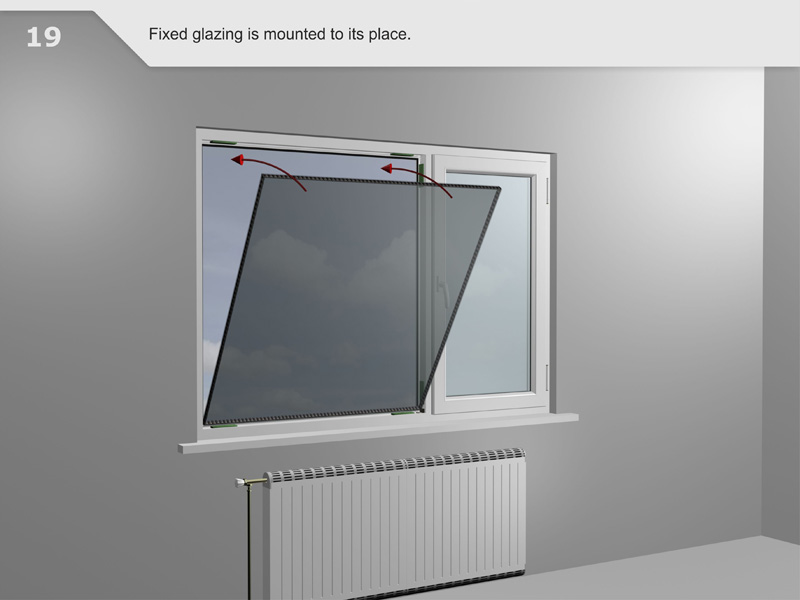
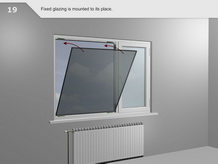 The fixed glazing is fixed in place.
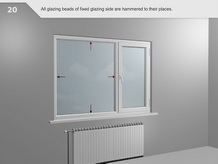 All glazing beads of the fixed glazing side are hammered in position.
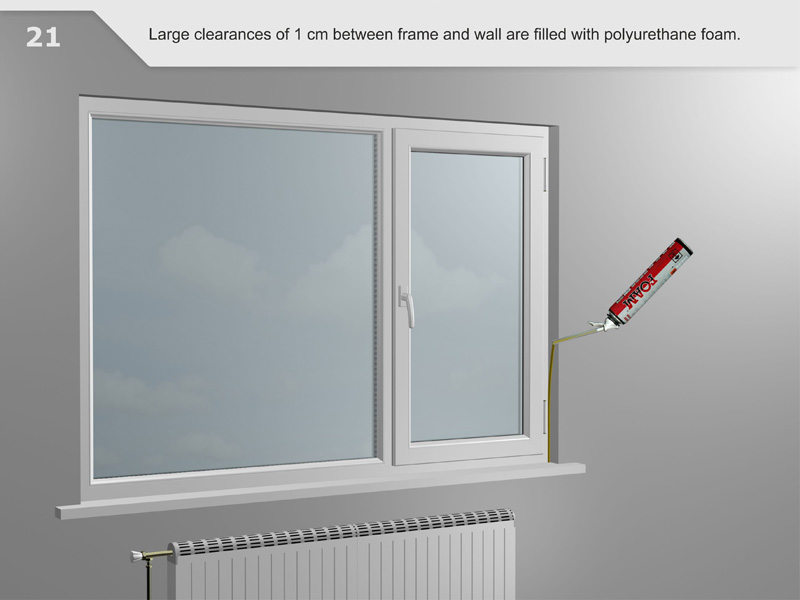
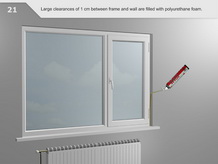 Voids greater than 1 cm between the frame and the wall are filled with polyurethane foam.
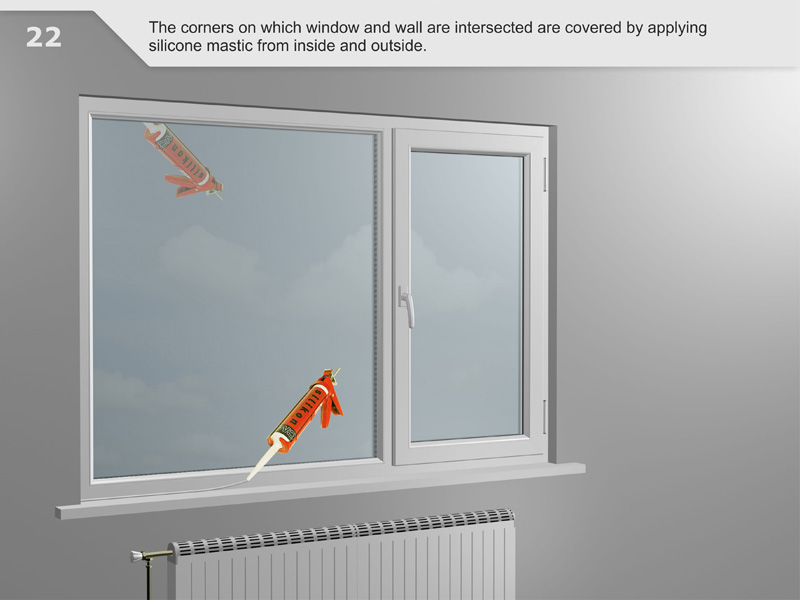
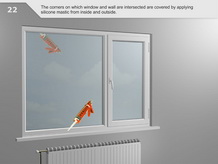 The corners where the window and the wall intersect are covered by applying silicone sealant from inside and outside.